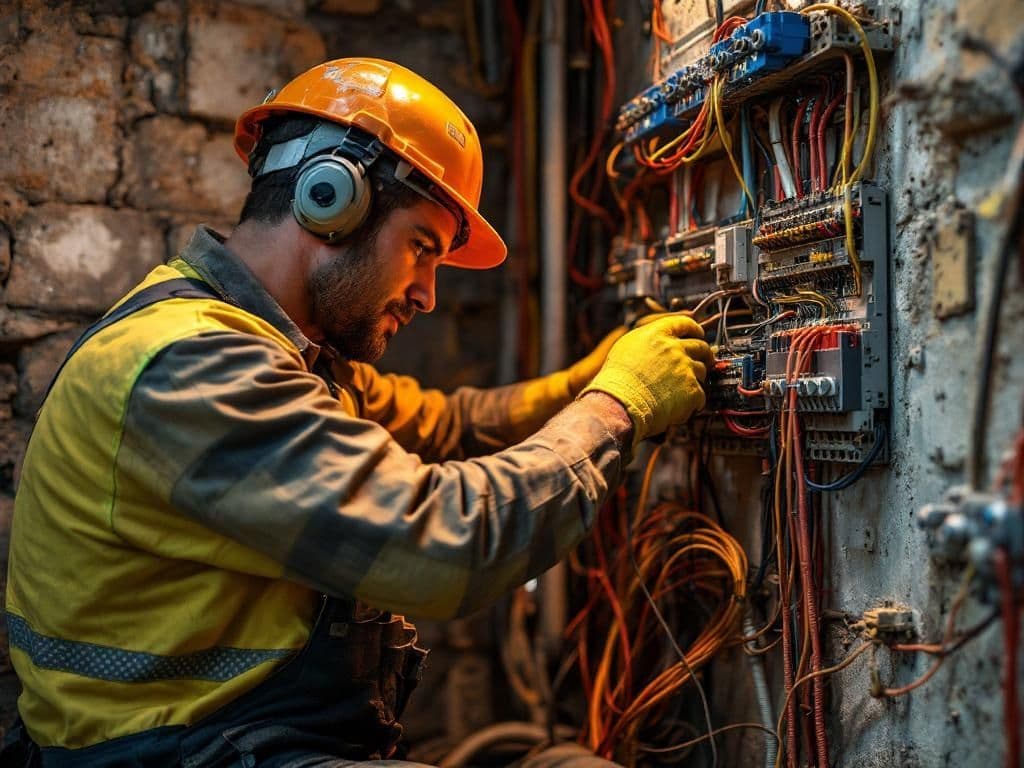
DIY Guide: Basic Electrical Repairs at Home
This guide helps you tackle basic electrical repairs like replacing light switches, fixing outlets, and more with safety tips included. Ideal for homeowners.
DIY Guide: Basic Electrical Repairs at Home
If you have a few basic electrical problems around the house, this detailed guide will help you fix them yourself. Remember, safety should always be your top priority. If a task seems too complex, it's best to consult a professional electrician.
1. Replacing a Light Switch
Switches wear out over time, leading to flickering lights or other issues. Here's how you can replace a light switch yourself:
Tools Needed
Screwdriver
Voltage tester
New light switch
Wire strippers
Estimated Time
30 minutes to 1 hour.
Cost
Around $5 to $10 for a new light switch.
Procedure
First, switch off the power from your home's main electrical panel.
Remove the switch cover using a screwdriver.
Use a voltage tester to ensure there's no power in the wires.
Disconnect the wires from the old switch.
Connect the wires to the new switch.
Reinstall the switch cover.
2. Fixing a Non-working Outlet
When an outlet stops working, it can be due to a circuit breaker issue or a problem with the outlet itself. Here's how you can fix a non-working outlet:
Tools Needed
Screwdriver
Voltage tester
New outlet (if needed)
Estimated Time
1 to 2 hours.
Cost
Around $1 to $5 for a new outlet.
Procedure
First, switch off the power from your home's main electrical panel.
Remove the outlet cover using a screwdriver.
Use a voltage tester to ensure there's no power in the wires.
Disconnect the wires from the old outlet.
Connect the wires to the new outlet.
Reinstall the outlet cover.
3. Replacing a Circuit Breaker
Circuit breakers protect your home from electrical overloads and short circuits. If a circuit breaker frequently trips, it may need replacement. Here's how you can replace a circuit breaker:
Tools Needed
Screwdriver
Voltage tester
New circuit breaker
Estimated Time
1 to 2 hours.
Cost
Around $15 to $40 for a new circuit breaker.
Procedure
First, switch off the power from your home's main electrical panel.
Remove the panel cover using a screwdriver.
Use a voltage tester to ensure there's no power in the wires.
Disconnect the wires from the old circuit breaker.
Connect the wires to the new circuit breaker.
Reinstall the panel cover.
Safety Tips
Always switch off the power from your home's main electrical panel before starting any electrical repair.
Use a voltage tester to ensure there's no power in the wires you're about to work with.
Wear rubber-soled shoes and use insulated tools for added safety.
Consult the National Fire Protection Association's electrical safety tips for more details.
Conclusion
With the right tools and precautions, you can perform basic electrical repairs at home. However, for complex issues, you should seek the help of a professional electrician to ensure safety and efficiency. Remember, working with electricity can be dangerous if you're not adequately prepared or trained.